When utilizing an working system, upgrading packages or putting in new ones are frequent duties that introduce the chance of affecting the soundness of the system. NixOS is a Linux distribution that ensures the reliability of the working system and permits simple reproducibility of the system present and former states.
This text follows our Nix introduction and deploy NixOS in your machine. It explains how NixOS works, the way to get hold of and set up it, and the way Nix guarantee reliability. Your machine will boot with a working NixOS system and you’ll acquire information on how NixOS, the Nix package deal supervisor, and House Supervisor work together collectively.
What’s NixOS?
NixOS is a Linux distribution. It’s constructed on prime of Nix, a purposeful package deal supervisor, which language is impressed by purposeful programming. NixOS takes the ability of the Nix package deal supervisor and applies it to your complete system. Which means, amongst different issues, it’s simple to roll again the entire configuration of the system to an earlier state. Complementary to the system managed by NixOS, House Supervisor manages a consumer atmosphere.
Why NixOS?
NixOS utilized Nix fundamentals to your complete system. That results in:
- System reproducibility: given a specification of a system (in a NixOS configuration file), it’s attainable to breed your complete system (modulo mutable state, such because the contents of databases for instance) to a different machine.
- Atomic upgrades and rollbacks: adjustments made on the system degree or the package deal degree are all the time revertible.
- Dependencies administration: NixOS makes use of the Nix package deal administration. Nix ensures that the dependencies declaration is full when putting in a package deal. As a result of Nix shops packages in isolation between them, it’s attainable to have totally different variations of the identical package deal put in. So totally different packages can then use totally different variations of the identical dependency with no drawback. That administration of dependencies doesn’t result in apps with big sizes as it’s the case utilizing flatpack.
Set up of NixOS
The machine used through the set up is a Dell Precision 5520 laptop computer with 1TB SSD and 32GB RAM. The directions shall apply to any machine, whether or not it’s a growth pc, a laptop computer or a digital machine.
Acquiring NixOS ISO
NixOS ISO picture will be downloaded from the NixOS download page. The ISO picture file is out there in two choices:
- The graphical ISO picture (the simplest selection): with this feature, the set up is less complicated because it has the graphical interface and the networking, prepared to make use of, wanted for the set up.
- The Minimal ISO picture (non-graphical): that is the minimalistic ISO picture by way of content material. The benefit is the decrease dimension of the ISO picture. However the disadvantage is that there’s extra to arrange earlier than the set up. Right here is the way to prepare the networking in the installer.
Networking should be configured earlier than the set up to obtain the requested dependencies.
My set up makes use of the graphical ISO picture with the Gnome desktop environment. The scale is comparatively small, about 2GB.
Boot the installer
The .iso disk picture is used to create a bootable USB drive. The NixOS official documentation covers the method. Observe the Ubuntu documentation for a extra user-friendly strategy utilizing balenaEtcher.
As soon as accomplished, restart your focused machine and boot from the USB drive. The display presents a graphical interface from the place NixOS will be configured and put in. A primary display proposes a number of variations of the installer, choose the primary proposition. A number of seconds later, Gnome is up and operating from the USB system. Open a brand new terminal.
Partitioning
NixOS installer doesn’t do any partitioning or formating. It’s the consumer duty. To carry out this operation, it’s essential to know the onerous drive’s identify. The command under helps to know the onerous drive’s identify:
In our case of set up, the onerous drive’s identify was /dev/nvme0n1. However relying on the disk kind (SATA, SSD, NVMe, …), it’s attainable to have various values akin to /dev/sda. For the following of this text, instructions are primarily based on the drive identify /dev/nvme0n1.
As soon as the drive’s identify is understood, the following step is partitioning. In our case, a single partition is solely devoted to the working system. Hibernation throughout reboot persists the system state on disk into swap space. Thus, it requires the creation of a swap partition. It’s not beneficial to allow hibernation on system with giant RAM assets akin to a server. When you select to allow hibernation, set the swap dimension to equal 1.5 occasions the RAM dimension.
The UEFI partition scheme is used because the booting methodology. The swap partition makes use of 50 GiB. The MBR partition scheme can be introduced for illustration goal.
From the terminal, log in as root with sudo su -. Each fdisk and Parted are legitimate instruments to partition the drive.
Formatting
Fast recap, in our set up, NixOS targets the /dev/nvme0n1 disk. The /dev/nvme0n1p2 partition is the foundation of the Linux system. The /dev/nvme0n1p3 partition is the swap drive.
On this step, the aims are to format the partitions, activate the swap partition and mount the goal file system on which NixOS goes to be put in. Listed below are instructions for UEFI and MBR (Legacy boot) booting strategies:
-
UEFI case
mkfs.ext4 -L nixos /dev/nvme0n1p2 mkswap -L swap /dev/nvme0n1p3 mkfs.fats -F 32 -n boot /dev/nvme0n1p1 mount /dev/disk/by-label/nixos /mnt swapon /dev/nvme0n1p3 mkdir -p /mnt/boot mount /dev/disk/by-label/boot /mnt/boot -
MBR case
mkfs.ext4 -L nixos /dev/nvme0n1p1
mkswap -L swap /dev/nvme0n1p2
mount /dev/disk/by-label/nixos /mnt
swapon /dev/nvme0n1p2
nixos-generate-config --root /mnt
NixOS configuration
Set up is finished by way of the NixOS configuration file in /mnt/and so on/nixos/configuration.nix. The instructions to generate the configuration file and open it for version:
nixos-generate-config --root /mnt
nano /mnt/and so on/nixos/configuration.nix
Within the NixOS philosophy, the NixOS configuration file mirror your complete system. It consists of the packages to put in, the service to run, the settings to use, the community configuration, and probably much more. To make this introduction simpler to know, we’ll begin with a minimal configuration after which full it as soon as the system reboot. Sooner or later, you’re encourage to commit this configuration. This fashion, on a brand new machine set up, you could have the possibilty to clone your configuration and re-apply it, or a subset of it, to a brand new focused environnment.
A minimal NixOS configuration file targetting the Gnome desktop atmosphere and the UEFI booting methodology is proven under. When you want to begin with a extra full system, you may enrich the configuration with your individual properties or use the extra exhaustive configuration file proposed on the finish of this text.
{ config, pkgs, ... }:

{
  imports =
    [
      ./hardware-configuration.nix
    ];


  boot.loader.systemd-boot.allow = true;
  boot.loader.efi.canTouchEfiVariables = true;


  networking.useDHCP = false;
  networking.interfaces.wlp2s0.useDHCP = true;
  networking.networkmanager.allow = true;


  providers.xserver.allow = true;


  providers.xserver.displayManager.gdm.allow = true;
  providers.xserver.desktopManager.gnome.allow = true;


  providers.xserver.structure = "fr";


  sound.allow = true;
  {hardware}.pulseaudio.allow = true;


  providers.xserver.libinput.allow = true;


  customers.customers.florent = {
    isNormalUser = true;
    initialPassword = "secret";
    extraGroups = [ "wheel" ];
  };


  atmosphere.systemPackages = with pkgs; [
    vim
  ];


  providers.openssh.allow = true;


  system.stateVersion = "21.05";
}
Set up
That is the final step earlier than rebooting into the system. Web connection is required to obtain dependencies. The set up displays the content material of the configuration created beforehand. The command to launch the set up is:
A root password is requested. As soon as accomplished, the system is prepared on restart.
Altering the NixOS configuration
When the system is up, the system will evolve together with your wants. New instruments are put in, providers are began and configuration are up to date. That is half the system lifecycle whether or not the system targets a growth machine or a manufacturing server.
The NixOS configuration file displays the configuration on the system degree, affecting all customers created on the machine. As well as, House supervisor works on the consumer degree. It installs software program and configuration for a particular consumer.
Including the package deal curl at system degree is finished with the configuration under:
{ config, pkgs, ... }:

{
  ...
  atmosphere.systemPackages = with pkgs; [
    vim
    curl
  ];
  ...
}
Any change within the NixOS configuration file results in a brand new booting configuration. The instructions under construct the configuration declared within the NixOS configuration file and make it the default configuration for booting:
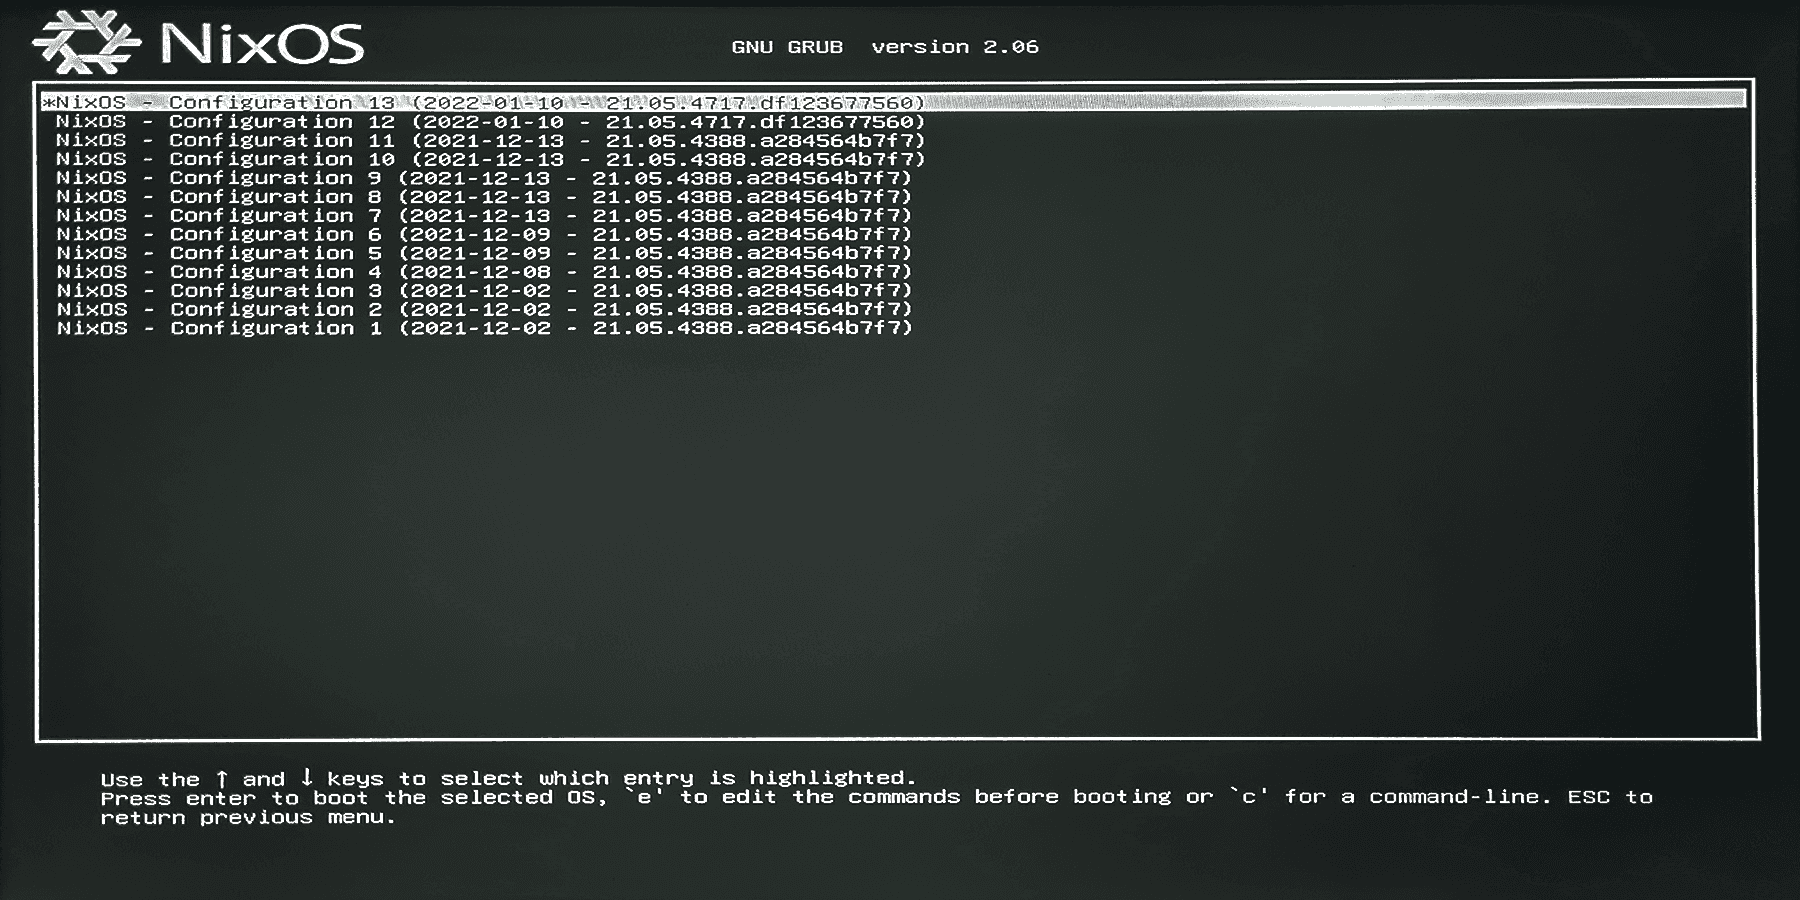
At any utility of the command nixos-rebuild change, a brand new boot configuration is out there firstly of the working system. Right here is an instance display on reboot:
Command to checklist the booting configurations on NixOS:
sudo nix-env -p /nix/var/nix/profiles/system --list-generationsOur Nix introduction lists the commonest instructions.
What’s House Supervisor?
House Supervisor is a device to handle a consumer atmosphere utilizing Nix package deal supervisor. As such, it completes NixOS. There are two methods to make use of House Supervisor:
-
Utilizing the standalone home-manager device
It permits managing the house listing of a consumer independently of the system as an entire. There are two configuration information to take care of: one file for the configuration at system-level (
/and so on/nixos/configuration.nix) and one file for the configuration at user-level (~/config/nixpkgs/house.nix). The previous requires root privileges whereas the later is executed by the consumer with outsudoerspermissions. -
As a module inside a NixOS system configuration
It permits to handle system-level configuration and user-level configuration inside a single file (
/and so on/nixos/configuration.nix). Root degree privileges are required to use House Supervisor updates.
I discovered it simpler to take care of my system configuration in a single single file. In any case, I’m the one consumer of my growth machine. We cowl under the set up of House Supervisor as a module inside the NixOS system configuration.
House Supervisor as a module of NixOS
Set up of House supervisor as NixOS module requires root-level privileges. From the terminal, log in as root with sudo su -. Then comply with the steps under to arrange House Supervisor:
-
Use the instructions under so as to add the House Supervisor channel:
nix-channel --add https://github.com/nix-community/home-manager/archive/grasp.tar.gz home-manager nix-channel --update -
Add
importspart of the NixOS configuration file. A brand new NixOS possibility referred to ashome-manager.customersis now availble.
Given the instance of NixOS configuration file in part Generation and configuration of the NixOS configuration file, including House Supervisor module to put in the python3 package deal and to configure the dotfile .git for a consumer named florent provides:
{ config, pkgs, ... }:

{
  imports =
    [
      ./hardware-configuration.nix
            home-manager/nixos>    ];

  boot.loader.systemd-boot.allow = true;
  boot.loader.efi.canTouchEfiVariables = true;
  networking.useDHCP = false;
  networking.interfaces.wlp2s0.useDHCP = true;
  networking.networkmanager.allow = true;
  providers.xserver.allow = true;
  providers.xserver.displayManager.gdm.allow = true;
  providers.xserver.desktopManager.gnome.allow = true;
  providers.xserver.structure = "fr";
  sound.allow = true;
  {hardware}.pulseaudio.allow = true;
  providers.xserver.libinput.allow = true;
  customers.customers.florent = {
    isNormalUser = true;
    initialPassword = "titi"
    extraGroups = [ "wheel" ];
  };
    house-supervisor.customers.florent = { pkgs, ...}: {        house.packages = [       pkgs.python3    ];        applications.git = {      allow = true;      userName = "Florent";      userEmail = "florent@adaltas.com";    };  };
  atmosphere.systemPackages = with pkgs; [
    vim
    curl
  ];
  providers.openssh.allow = true;
  system.stateVersion = "21.05";
}
Like beforehand, use nixos-rebuild change to use adjustments.
Conclusion
NixOS applies Nix fundamentals to your complete system for a holistic Nix expertise. Nix simplify the method of saving, sharing or replicating the configuration of machines. Utilized to the entire system, it creates a versatile, dependable and reproductible Linux distribution. One can simply think about the enchantment of those advantages utilized to CI/CD environments and distributed clusters.